Dreaming of lush wine vines in your own backyard? You are not alone. The buzz around homegrown grapes is only growing as we head into 2026.
More people are discovering the joy of cultivating wine vines, whether for a small estate or a home garden. Imagine tasting wine made from grapes you have grown with your own hands.
This guide is here to help you turn that dream into reality. We will walk you through every step, from choosing the perfect spot, selecting the right varieties, planting, caring, all the way to harvesting.
Are you ready to start your journey and create wine you can truly call your own? Let’s get started.
Understanding Wine Vines: The Foundation of Success
Curious about growing wine vines at home? You are not alone. More Kiwis are dreaming of picking their own grapes for homemade wine. But before you dig in, it pays to get familiar with the basics. Wine vines are not just any old grape plant. They have unique traits that set them apart, and understanding these is the first step towards a thriving backyard vineyard.
The Basics of Wine Vines
Wine vines are special types of grapevines grown for making wine. Unlike table grapes, wine vines produce smaller, thicker-skinned fruit packed with flavour. Their roots can stretch up to 6 metres deep in good soil, helping the plant survive heat and dry spells.
Grapevines are perennials, meaning they live for many years and fruit every season. The main species for winemaking is Vitis vinifera. This includes famous varieties like Pinot Noir and Sauvignon Blanc. There are also hybrids, such as Muscadine and Norton, which thrive in tough conditions.
Most wine vines are grafted onto hardy rootstocks. This protects them from soil pests and diseases. Table grapes, on the other hand, are usually planted on their own roots and bred for sweetness and crunch. Want a quick comparison? Check out this table:
| Feature | Table Grapes | Wine Vines |
|---|---|---|
| Fruit Size | Large | Small |
| Skin Thickness | Thin | Thick |
| Flavour | Sweet, mild | Complex, tart |
| Use | Eating fresh | Winemaking |
Knowing these differences helps you choose the right plant for your vineyard dreams.
Varietal Selection for 2026
Choosing the right wine vines for your place is key. In 2026, people are looking for varieties that handle changing weather and resist disease. Pinot Noir and Chardonnay are still popular, especially in cooler regions. But hybrids like Chardonnel are catching on for their toughness and flavour.
Your local climate and soil matter a lot. For example, in South Carolina, growers use Muscadine, DeChaunac, and Picpoul to beat the heat and humidity. The best advice? Try a few different wine vines in your garden and see which ones thrive.
If you want more details on matching grape varieties to your region, you can check out this helpful Selecting Grape Varieties guide. Research vineyards near you and do some experimenting. This hands-on approach will help you find the perfect wine vines for your own backyard. The right choice now could lead to lush vines, healthy grapes, and bottles of homemade wine to enjoy with friends.
Site Selection and Soil Preparation
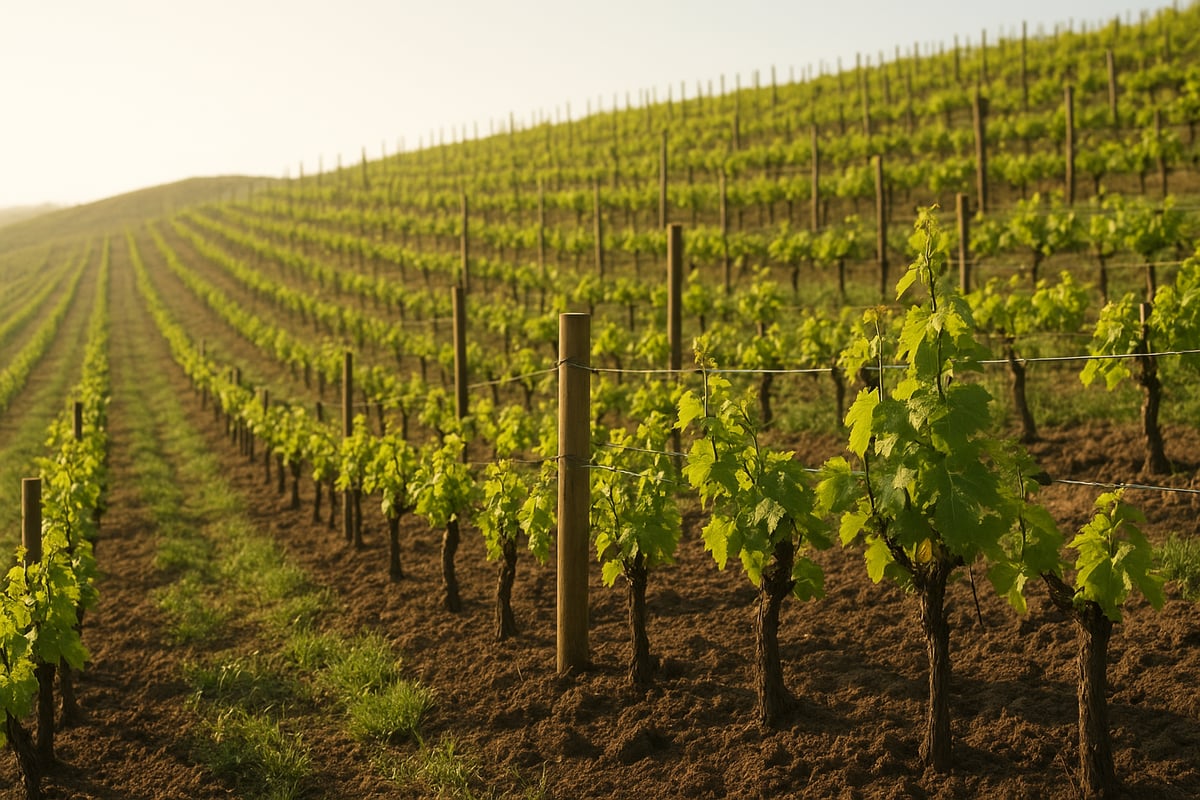
Dreaming of lush wine vines in your backyard or on a small block? The journey starts with choosing the right spot and setting up your soil for success. Let’s break down what matters most before you plant, so your vineyard can thrive and, one day, fill your glasses with homegrown goodness.
Evaluating Your Location
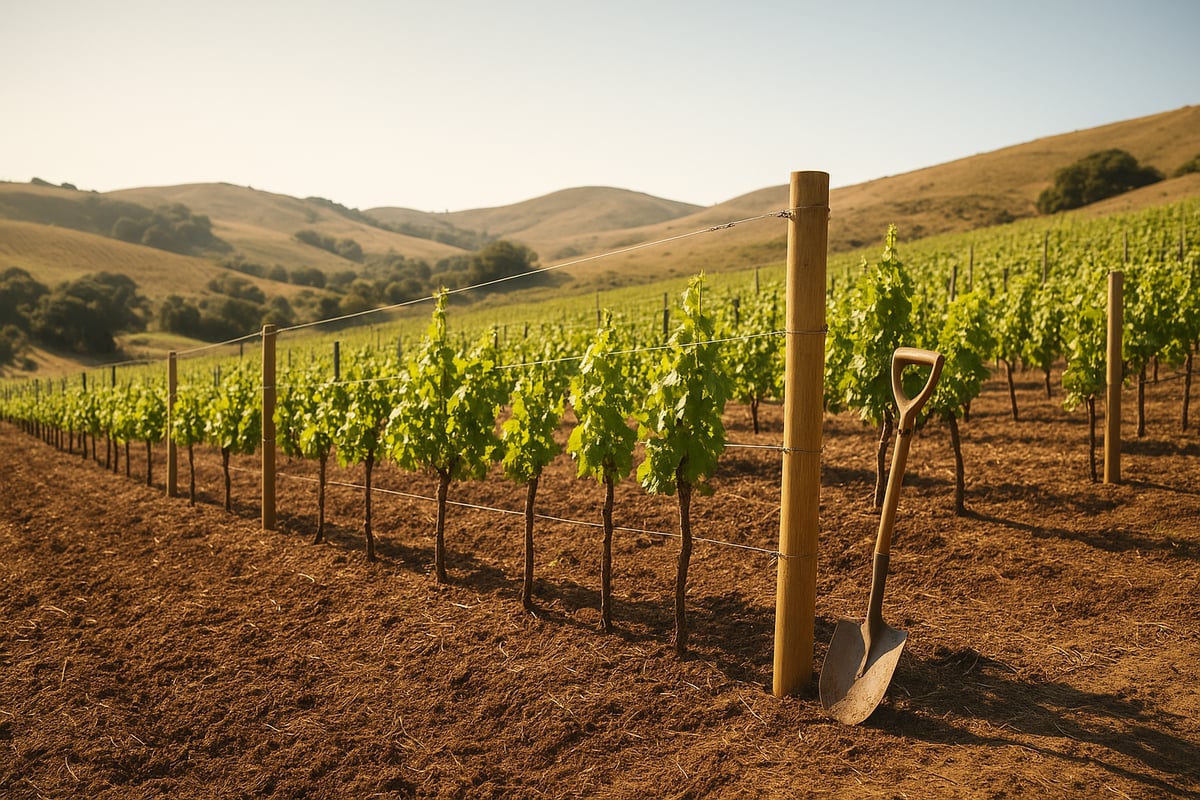
Getting the site right is half the battle with wine vines. Start by finding a sunny, open space—grapevines love full sunlight for most of the day. If you can, pick a gentle slope. This helps with drainage and keeps cold air from settling, which protects your wine vines from frost.
Wind can be both friend and foe. A little breeze keeps leaves dry and reduces disease risk, but strong winds can damage young shoots. Think about shelter, like a hedge or fence, for protection. Microclimate matters too. Check if your spot gets morning sun, or if it’s prone to late spring frosts or high humidity.
Here’s a handy checklist:
- At least 6–8 hours of sun daily
- Sloping ground for drainage
- Open area with some wind protection
- Easy access to water
A simple tip: “Find a nice sunny spot for them (maybe near a hose bib).” The right location sets your wine vines up for years of healthy growth.
Soil Testing and Improvement
Before planting, check your soil’s texture and fertility. Wine vines thrive in well-drained soils, so avoid spots where water pools after rain. Heavy clay or compacted ground can stunt roots and cause problems later.
Test your soil’s pH—it should sit between 5.5 and 7.0 for best results. You can use a basic kit or get a professional analysis. Look for a crumbly texture with some organic matter. Compost helps boost life in the soil, but don’t overdo it. Deep digging, about 46 cm, encourages strong roots.
If you want a step-by-step approach, this Grape Cultivation Guide covers soil testing, drainage fixes, and prepping the ground for wine vines.
Try this: “Purchase 5 grapevines and test them in different spots.” You’ll learn which areas your wine vines love best.
Preparing the Ground
Once you’ve picked your site and checked your soil, it’s time to prepare the ground. First, clear away weeds and grass. These compete with wine vines for water and nutrients. Dig planting holes about 46 cm deep, loosening the sides and bottom. This gives roots an easy path to grow.
Add compost or organic matter if your soil is poor. Mix it well but avoid piling it too high. Stones at the bottom can help drainage, especially in heavy soils. Mulch the area to keep moisture in and weeds out. Some growers use cover crops, like clover, to build soil health over time.
A practical example: “Fill the planter with stones on the bottom, followed by a mix of sand, clay and planting soil.” With good prep, your wine vines get the best possible start—just like the vineyards behind top New Zealand wines.
Step-by-Step Guide to Planting Wine Vines
Dreaming of your own wine vines? Planting is where the magic really begins. Whether you want to sip a homegrown Pinot Noir or simply enjoy lush vines in your garden, this guide will walk you through each step. Ready to get your hands dirty and set the stage for future harvests? Let’s dig in.
Choosing Dormant vs. Green-Growing Vines
When starting your wine vines, you’ll likely choose between dormant (bare-root) and green-growing (potted) vines. Dormant vines look like sticks with roots, shipped in sawdust while they’re leafless. Green-growing vines arrive in pots with leafy shoots.
Dormant vines are best planted as soon as the risk of frost passes. They wake up with spring, adapting well. Green-growing vines need warmer weather and careful handling, as they can suffer transplant shock if exposed too early.
If you want to follow a real-world planting journey from vine to wine, check out this Vines to wine journey for more inspiration. No matter your choice, both options will get your wine vines off to a strong start.
Planting Dormant Vines
Start by acclimating your dormant wine vines to outdoor conditions for a few days. Let the roots soak in clean water for 24 to 48 hours before planting.
Dig a hole about 46 cm deep and loosen the soil at the bottom. Trim the root tips gently to encourage healthy new growth. Pour a little water into the hole first. Spread the roots out, position the vine upright, and pack soil in around it, keeping the graft union 10 to 15 cm above ground.
Mound extra soil over the vine to lock in moisture and protect it from drying winds. Packing the dirt around the roots takes a bit of patience, but it sets the foundation for strong wine vines.
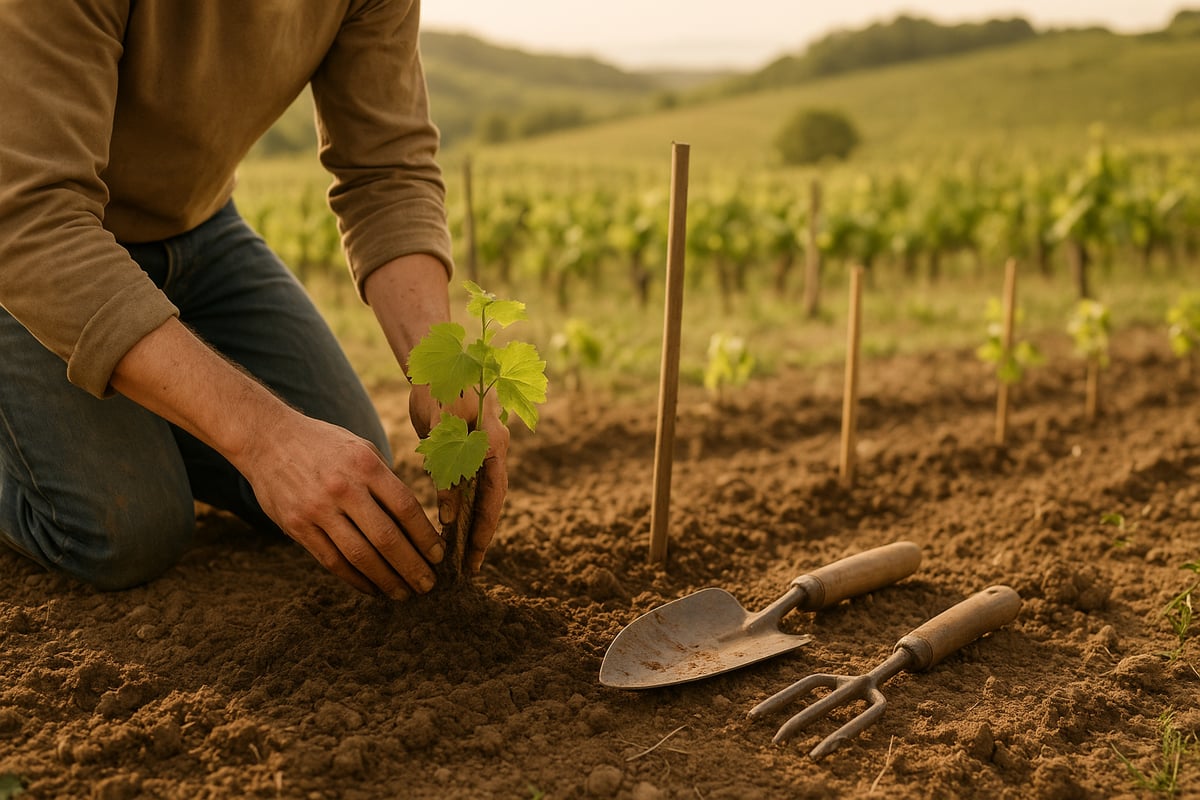
Planting Green-Growing Vines
Green-growing wine vines come with leaves and shoots, so handle them gently. Before planting, tease the roots loose from the pot with your fingers. This helps them spread out into the soil.
Dig a hole just as you would for dormant vines. If the weather is hot or windy, use a grow tube or provide temporary shade to ease transplant shock. Plant the vine, water it well, and keep an eye out for wilting. If the leaves die back, don’t panic—wait for new shoots to pop up.
The key is patience and steady care. With the right start, your green-growing wine vines will soon settle in and thrive.
Initial Vine Support and Protection
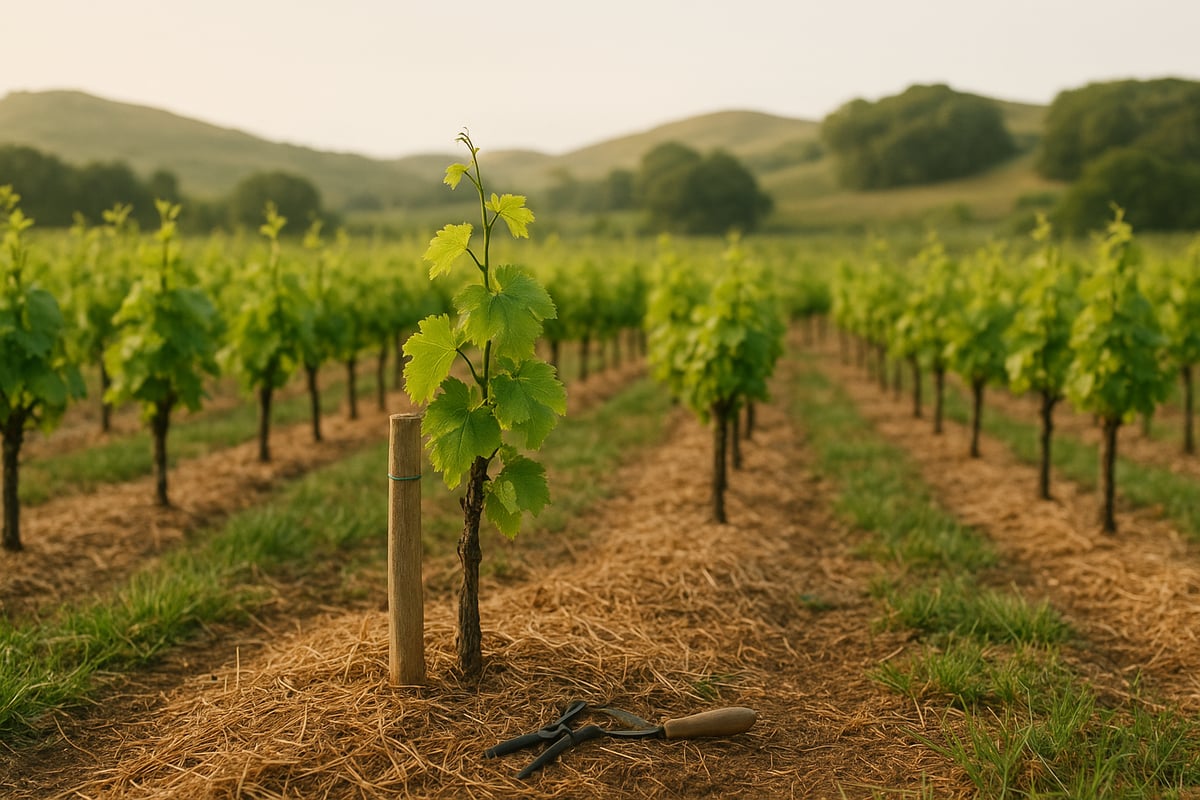
Newly planted wine vines need support and protection from day one. Place a sturdy training stake close to each vine. Tie the healthiest shoot to the stake using soft vinyl tie-tape. Remove any extra shoots, leaving just the strongest one to become the main trunk.
Mulch around each vine to keep weeds at bay and retain moisture. Watch out for pests and protect young vines from harsh weather. With these steps, your wine vines will have the best possible start on their way to a rewarding harvest.
Nurturing Your Vineyard: Care and Maintenance
Caring for your wine vines is a daily adventure. Every small step you take now will reward you with lush growth and, eventually, stunning grapes for your table or your own bottle of wine. Let’s dive into the essential routines that will keep your vines thriving year after year.
Watering and Mulching
Wine vines love well-drained soil and hate wet feet. Let the soil dry out between waterings. If you water too often, roots can rot, and growth will stall.
Mulch is your friend. Spread a thick layer around each vine to keep moisture in and block out weeds.
- Check soil moisture with your finger before watering.
- Add straw or bark mulch for weed control.
- Pull mulch back from the trunk to avoid rot.
This routine keeps your wine vines healthy and ready for the next season.
Fertilising and Soil Health
Feeding your wine vines starts with the soil. Use compost or a balanced fertiliser, but don’t go overboard. Too much nitrogen means leafy growth, not sweet grapes.
Test your soil every year. Adjust with organic matter if needed. Keep pH between 5.5 and 7.0.
- Apply fertiliser in early spring.
- Use compost for long-term health.
- Avoid chemical overload.
Healthy soil is the secret to strong wine vines and flavourful fruit.
Training and Pruning
Training your wine vines shapes their future. Use stakes or a wire trellis to guide the main shoot upward. Remove all but the healthiest shoot, and tie it gently.
Prune lightly in the first years to develop a strong trunk and arms. Cut away weak or tangled growth.
- Train one main shoot for structure.
- Prune in winter while vines are dormant.
- Remove suckers and side shoots.
Consistent pruning helps wine vines focus on producing top-quality grapes.
Disease and Pest Management
Wine vines can attract pests and diseases, but you can stay ahead with simple steps. Spray with sulphur or Bordeaux mixture in spring and summer to prevent mildew.
Watch for aphids, birds, and signs of rot. Try organic options like neem oil or netting for bird control.
- Inspect leaves weekly for spots or pests.
- Remove damaged clusters quickly.
- Encourage airflow around vines.
Early action keeps your wine vines healthy and productive.
Seasonal Tasks
Every season brings new jobs in the vineyard. In spring, tie shoots and fertilise. Summer is for canopy management and careful watering. Autumn means harvesting and cleaning up. Winter is time to prune and tidy.
Want more ideas? Check out these summer vineyard maintenance tips for practical ways to keep your wine vines happy and healthy all year round.
With steady care, your vines will reward you with beautiful fruit. Imagine the satisfaction of enjoying a glass of wine from your own backyard. That dream starts with consistent, thoughtful care.
Harvesting Grapes for Quality Wine
Imagine walking through your own rows of wine vines, the morning sun just peeking over the horizon. Harvest time is here. This is the moment you have been waiting for, when all your hard work pays off in plump, sweet clusters. Picking grapes at the right time is essential for making quality wine at home. Let us look at how you can tell when your grapes are ready, how to harvest them, and what to do next to enjoy the fruits of your wine vines.

Determining Ripeness
Knowing when to pick your grapes is the secret to great wine. Use a refractometer to check the Brix level, which tells you the sugar content of your grapes. For most wine vines, aim for a Brix reading between 23 and 24. This gives you balanced wine with good flavour and about 14 to 15 percent alcohol.
Do not forget to check the pH as well. For red wines, a pH below 3.5 is ideal. Bite a few grapes and look at the seeds. When seeds are brown and crunchy, your wine vines have reached phenolic maturity. If you want a quick visual, healthy grape skins should feel firm, not soft. Taste is also key. If the grapes taste rich and sweet, you are nearly there.
Harvest Timing and Technique
Harvesting at the right moment makes all the difference. Taste your grapes from several spots on your wine vines to be sure they have developed full flavour. Pick early in the morning when the fruit is cool and firm. This helps keep the grapes fresh for winemaking.
Use clean, sharp snips or secateurs to cut the grape clusters. Be gentle, and avoid bruising the fruit. Collect the clusters in shallow bins so the grapes do not get crushed. If you want to see harvesting in action, check out this Grape Farming Video Guide for practical tips from the vineyard.
Post-Harvest Care
Once you have picked your grapes, sort through the bunches and remove any damaged or diseased fruit. Keep your harvest in a cool, shaded place until you are ready to start making wine. This helps preserve the freshness and flavour you worked so hard to achieve with your wine vines.
After harvest, tidy up your vineyard. Remove fallen leaves and old fruit to reduce the risk of disease next season. Keeping your wine vines healthy now means a better harvest next year. The reward for your care is just around the corner, maybe even in a glass of Fancrest Estate’s Pinot Noir. Let this be your inspiration as you enjoy the results of your own vineyard journey.
Troubleshooting Common Vineyard Challenges
Every vineyard faces a few bumps along the way. Knowing what to look for helps keep your wine vines healthy and productive. Let’s walk through the most common issues and how to solve them.
Soil and Water Issues
Are your wine vines looking a bit tired or yellow? This could be a sign of poor drainage or too much water. Stunted growth or soggy soil points to drainage problems.
Try these quick fixes:
- Loosen soil around the roots to help water move away.
- Add compost or sand to improve structure.
- Only water when the top soil is dry.
Healthy wine vines start with healthy soil. Careful observation is your best tool.
Disease and Pest Problems
Fungal diseases like powdery mildew or pests such as aphids can sneak up quickly. Look for white patches on leaves or curling shoots. Netting helps keep birds away from ripening grapes.
Organic options like sulphur or neem oil can help manage outbreaks. If you want to see how a working vineyard handles these issues, check out the Estate vineyard practices page for real-world examples.
Vine Vigor and Yield
Do your wine vines look wild or weak? Too much growth means too much nitrogen. Thin shoots and prune to open up the canopy. Weak vines might need a gentle feed or less competition from weeds.
Balance is key. Give each plant space and good airflow, and you will see better fruit.
Weather and Climate Risks
Spring frosts can damage new growth. Try covering young wine vines or using frost cloths on cold nights. In drought, mulch holds moisture and deep watering keeps roots strong.
Wind can dry out leaves, so plant in a sheltered spot if possible. Shade protects grapes from extreme heat.
Learning from Experience
Keep a simple notebook or digital log. Record what works and what does not each season. Watch your wine vines carefully and adjust as you learn.
Experiment with small changes and new ideas. In time, you will know your vines like old friends. This hands-on approach will help you grow grapes fit for a glass of Fancrest Estate’s finest.
Organic Pinot Noir: A New Zealand Example
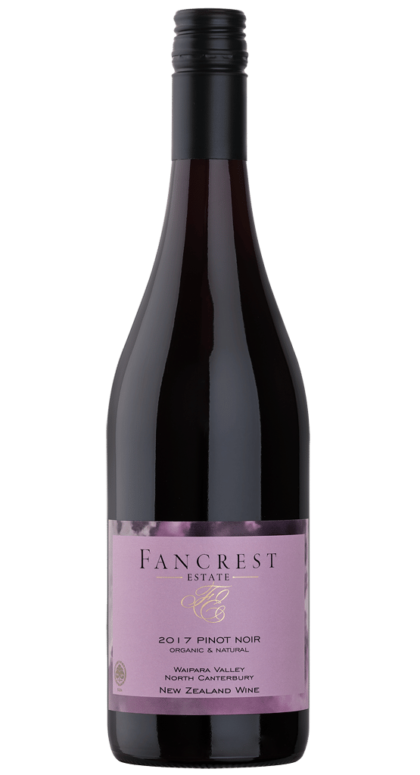
If you dream of tasting wine made from your own wine vines, look no further than Fancrest Estate in Waipara, North Canterbury. This boutique vineyard shows what happens when passion meets organic practice.
Fancrest Estate grows Pinot Noir using certified organic methods. They focus on soil health, natural compost, and cover crops. Every season, their wine vines are tended by hand, with no synthetic sprays or chemical fertilisers.
Instead of commercial yeasts, Fancrest lets wild vineyard yeasts start fermentation. This approach highlights the unique character of their land. The result is a Pinot Noir that speaks of place and care.
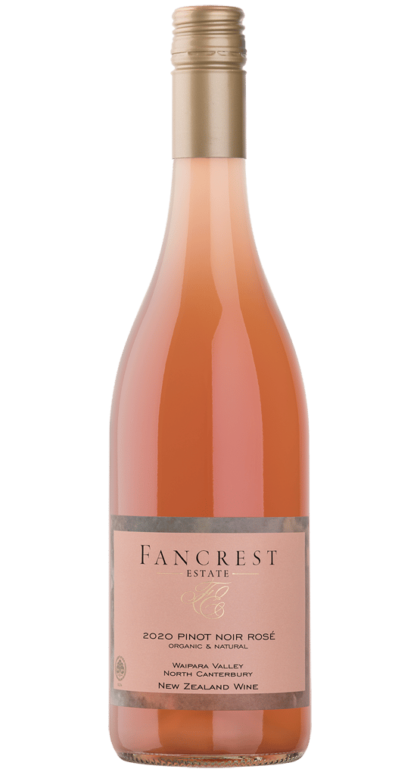
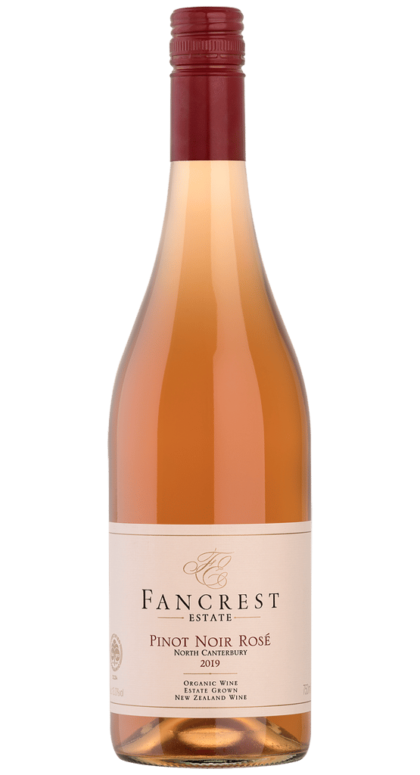
Fancrest wines are hand-crafted, aged with patience, and released only when ready. You won’t find them in every shop. Their wines are available exclusively online, making it simple for you to bring a taste of Waipara home.
Curious to see how organic wine vines thrive? Explore Fancrest’s Pinot Noir and rosé, or dive into Pinot Noir vine cultivation for inspiration on your own journey.
So, after diving into all the steps of starting your own vineyard and seeing what it takes to nurture those vines right through to harvest, you might be wondering what the end result can look like when it’s done with real care and passion. That’s exactly what Fancrest Estate is all about—organic Pinot Noir grown with sustainable practices, natural vineyard yeasts, and a true hands on approach. If you’re curious to taste the kind of quality you can aim for in your own journey, why not have a look at their range? You can Explore our wine selection here..